I grew up eating Pho. The same way that some might grow up eating spaghetti, casseroles, or sandwiches.
We didn’t need the weather to turn cold to make it- we ate it all the time. And contrary to popular belief that this is a lunch or dinner item, Pho is actually considered a breakfast item.
A few years ago I asked my Mom to finally teach me how to make it and like much of her recipes, everything was learned by doing. No written recipes, no distinct measurements, and relying solely on tasting to finalize the broth. Much of this recipe will be written in that same vein 😉
After having made Vietnamese Pho several times throughout the years I think I can finally say I’ve honed in on the flavor profile that works best for us. Most of these ingredients can be purchased locally at the Asian Market off Dodge. Please enjoy!
Recipe for Authentic Vietnamese Pho (12-16 Servings)
For the Broth
- 1 Large White Onion
- 5-6 Medium Shallots
- 1 Large chunk of ginger or a few smaller chunks
- 2 lbs of Quality Beef Bones
- 16 QT Pot or the biggest pot you have, not to be confused with Cannabis
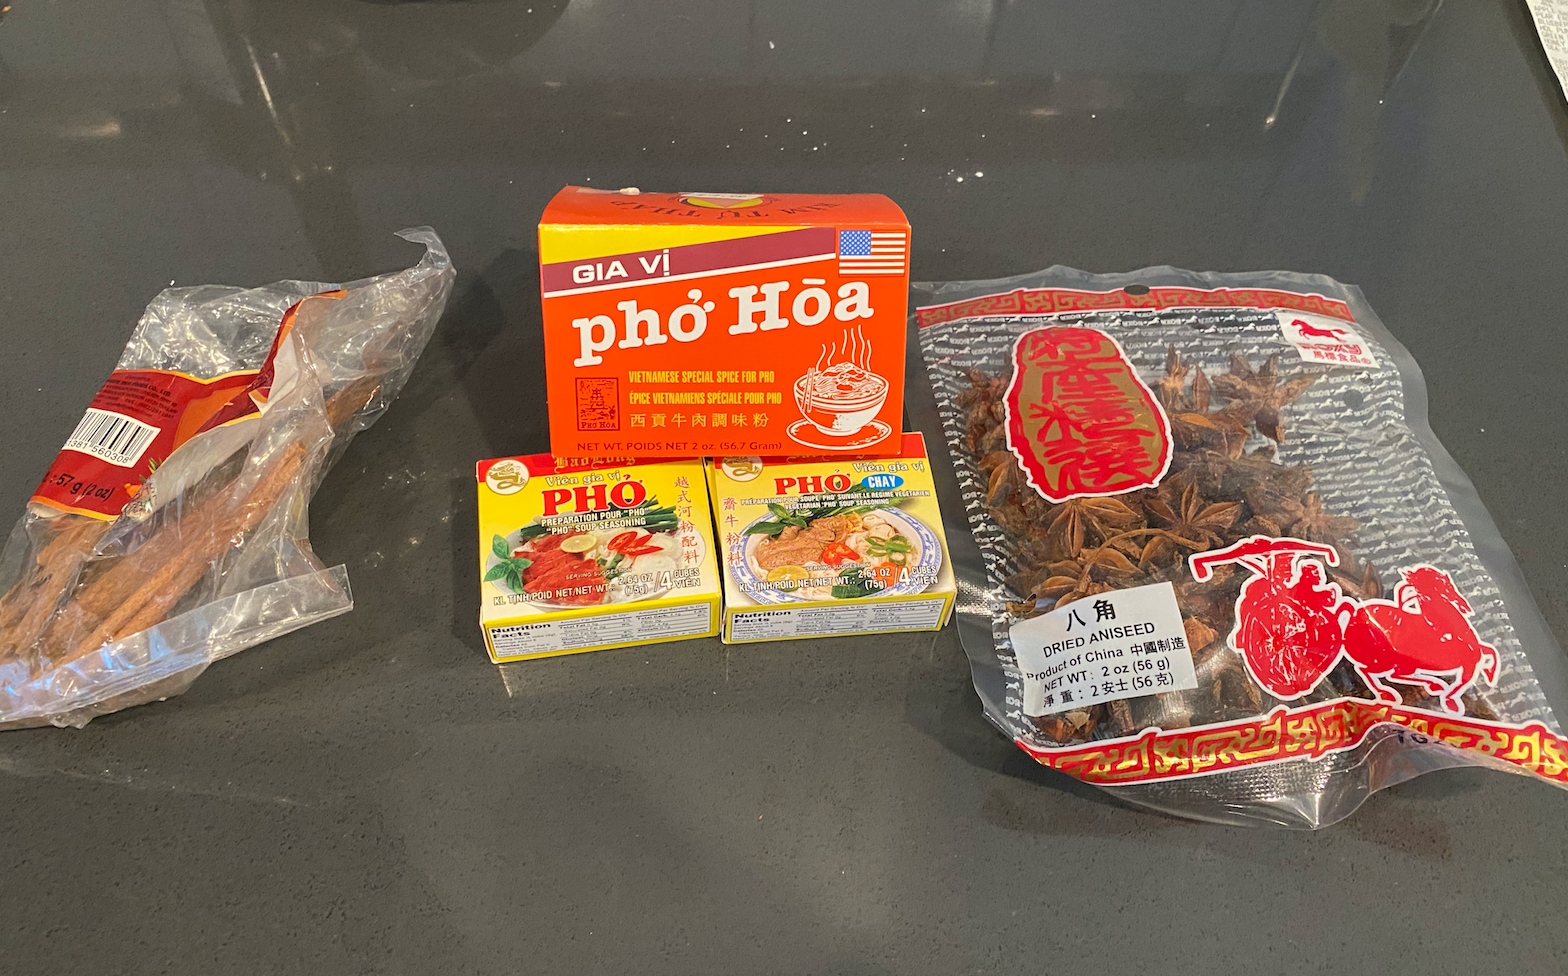
- 1 Teeny tiny stick of cinnamon (my mom doesn’t know I add this)
- 1 Box of “pho Hoa”
- 1 Box of “Vien gia vi Pho”
- 8-10 pieces of star anise
- 1 24 oz Bottle of Fish Sauce
For the Bowl
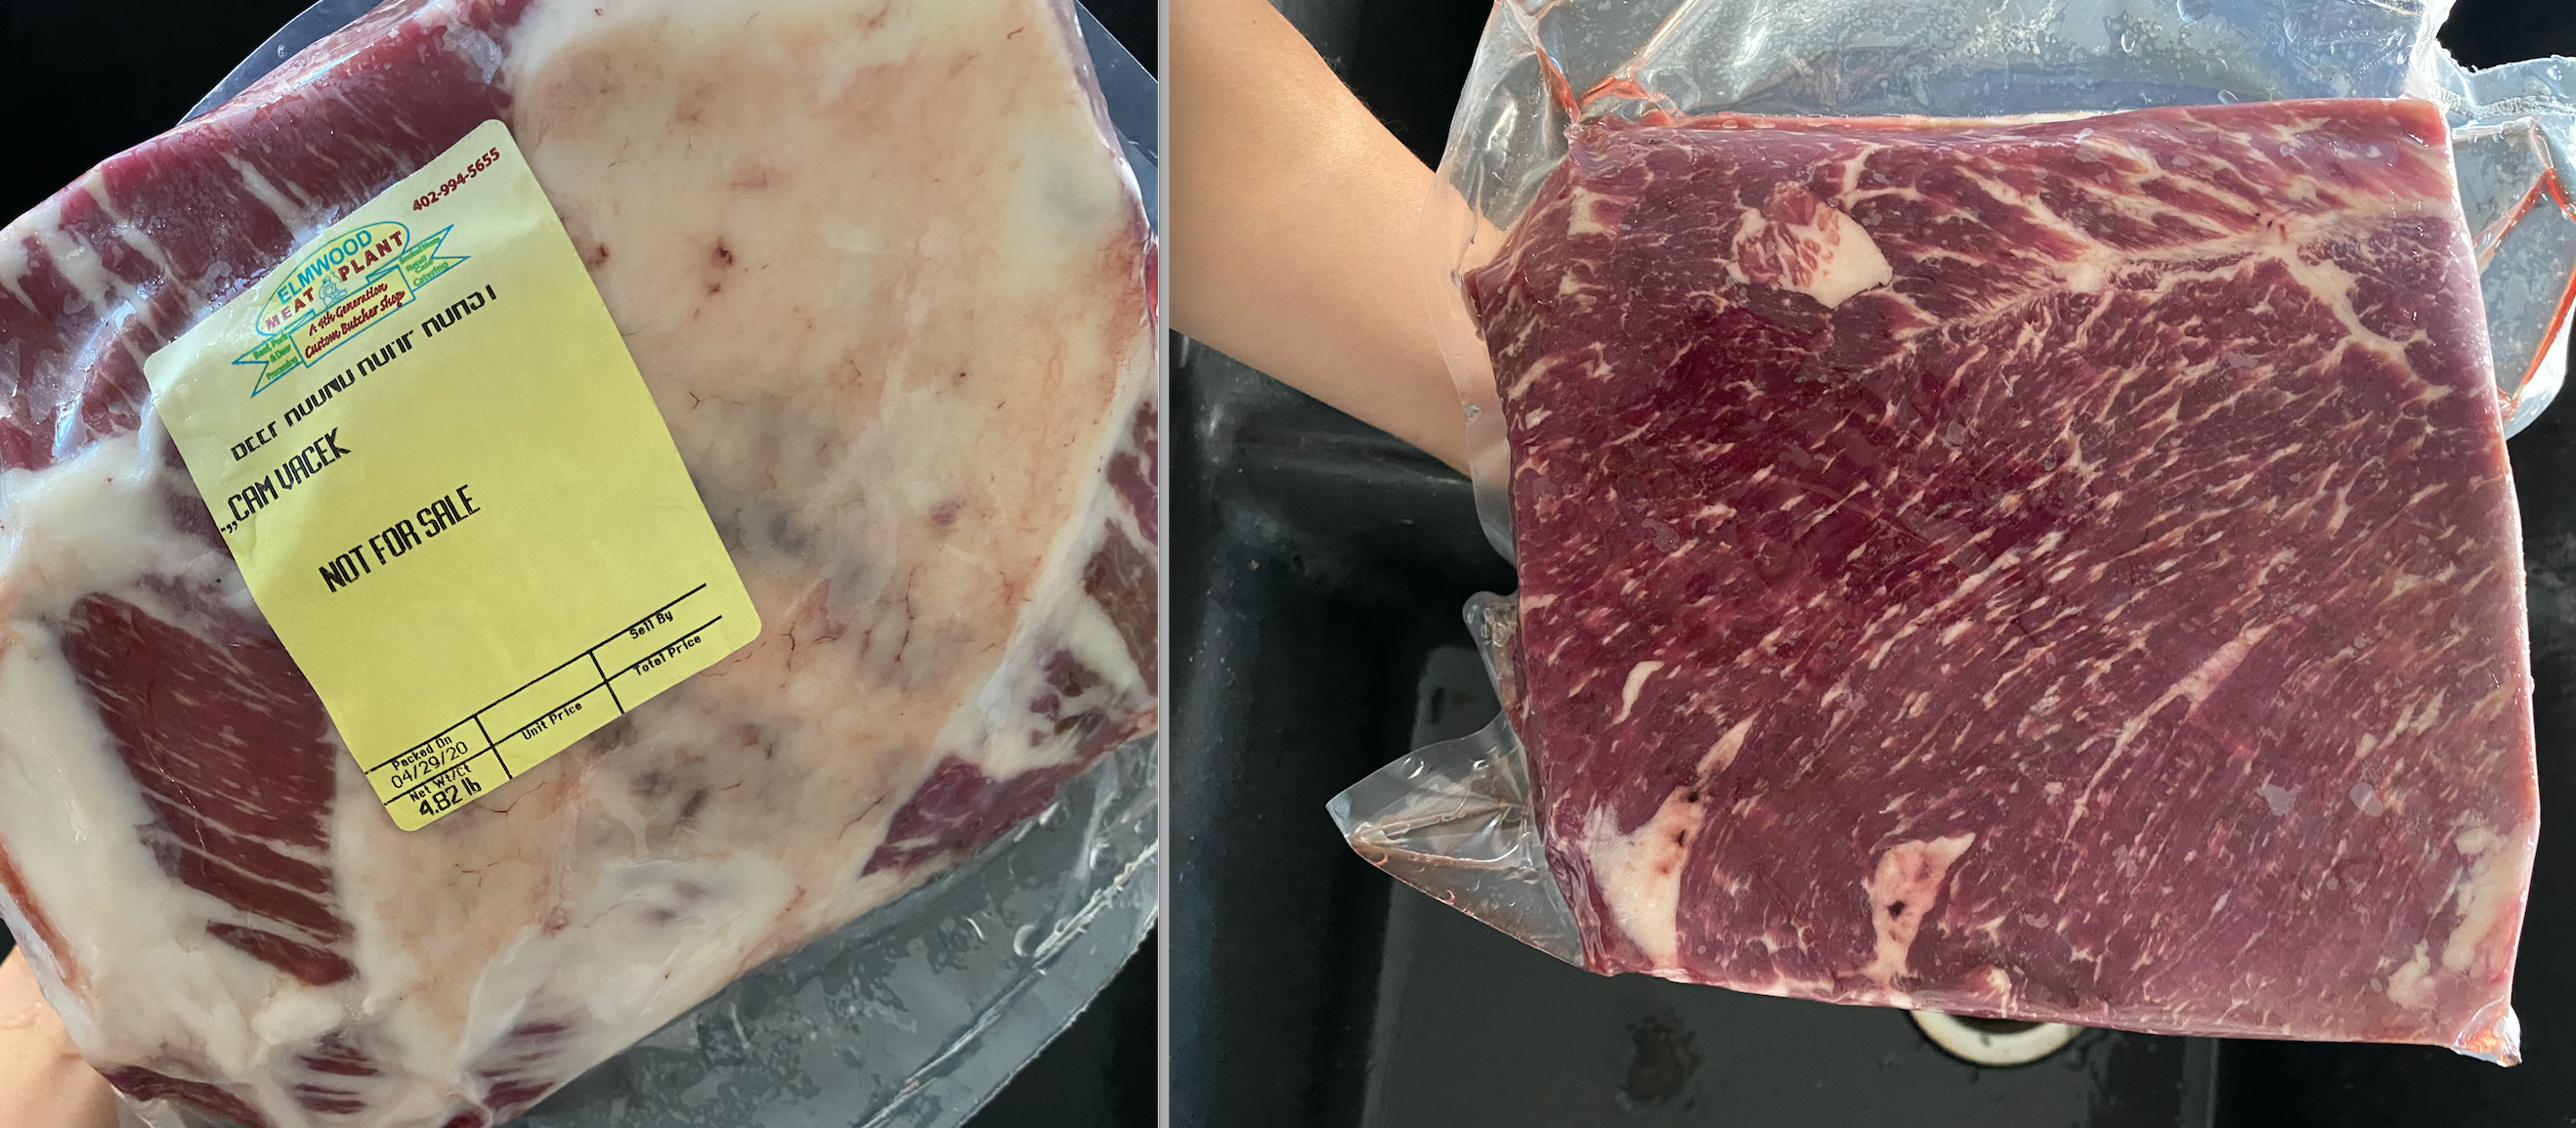
- 1 4 lb Chuck Roast or Bottom Round Roast
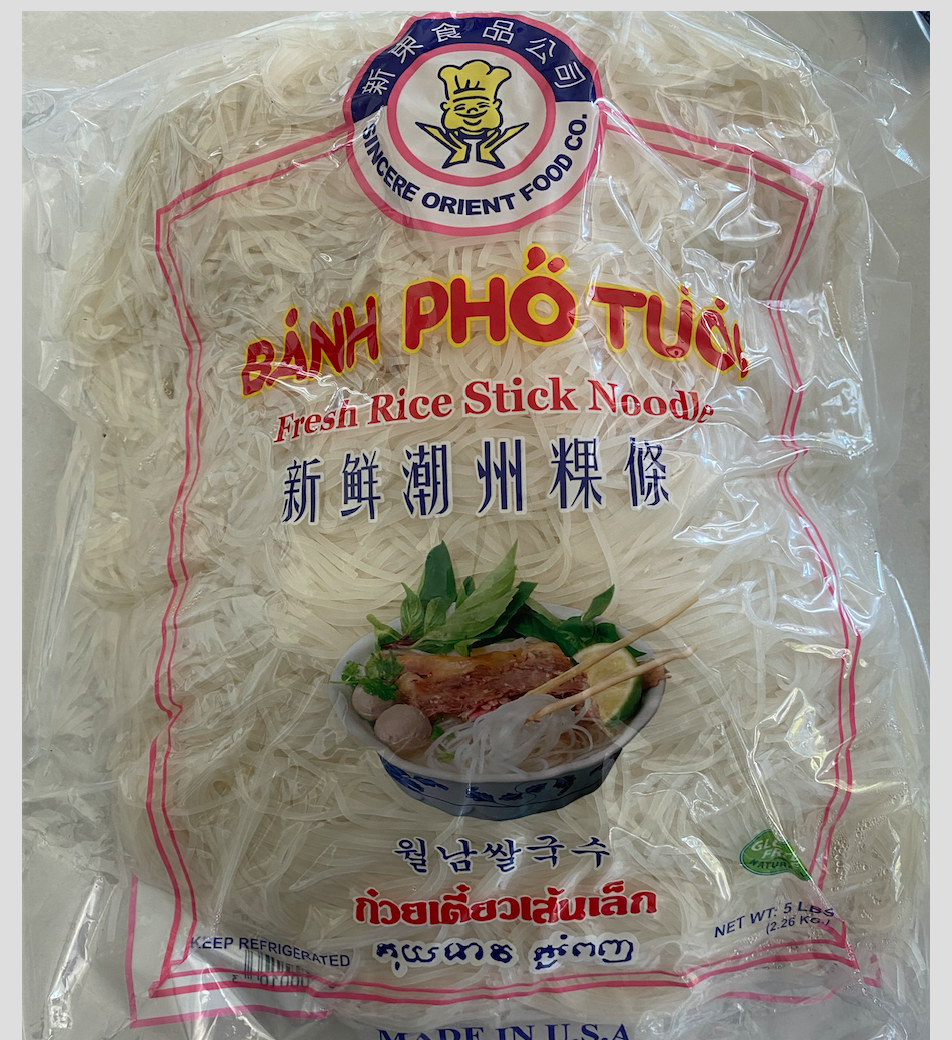
- 5 one-pound bags of “Banh Pho Tuoi” Fresh Rice Noodles or One 5-lb bag (pictured)
- Cilantro (optional)
- Green Onions/Scallions (optional)
- Mung Bean Sprouts (optional)
- Sriracha (optional)
- Hoisin Sauce (optional)
- Fresh Lime Wedges (optional)
Step 1
Preheat your oven to 450. We use a little toaster oven that gets the job done. Then peel the onion, the shallots, and the ginger to roast in the oven. I throw them directly on the rack and take my chances if certain things fall through. If using a full-sized oven, I’d probably put them on a small baking sheet with foil.
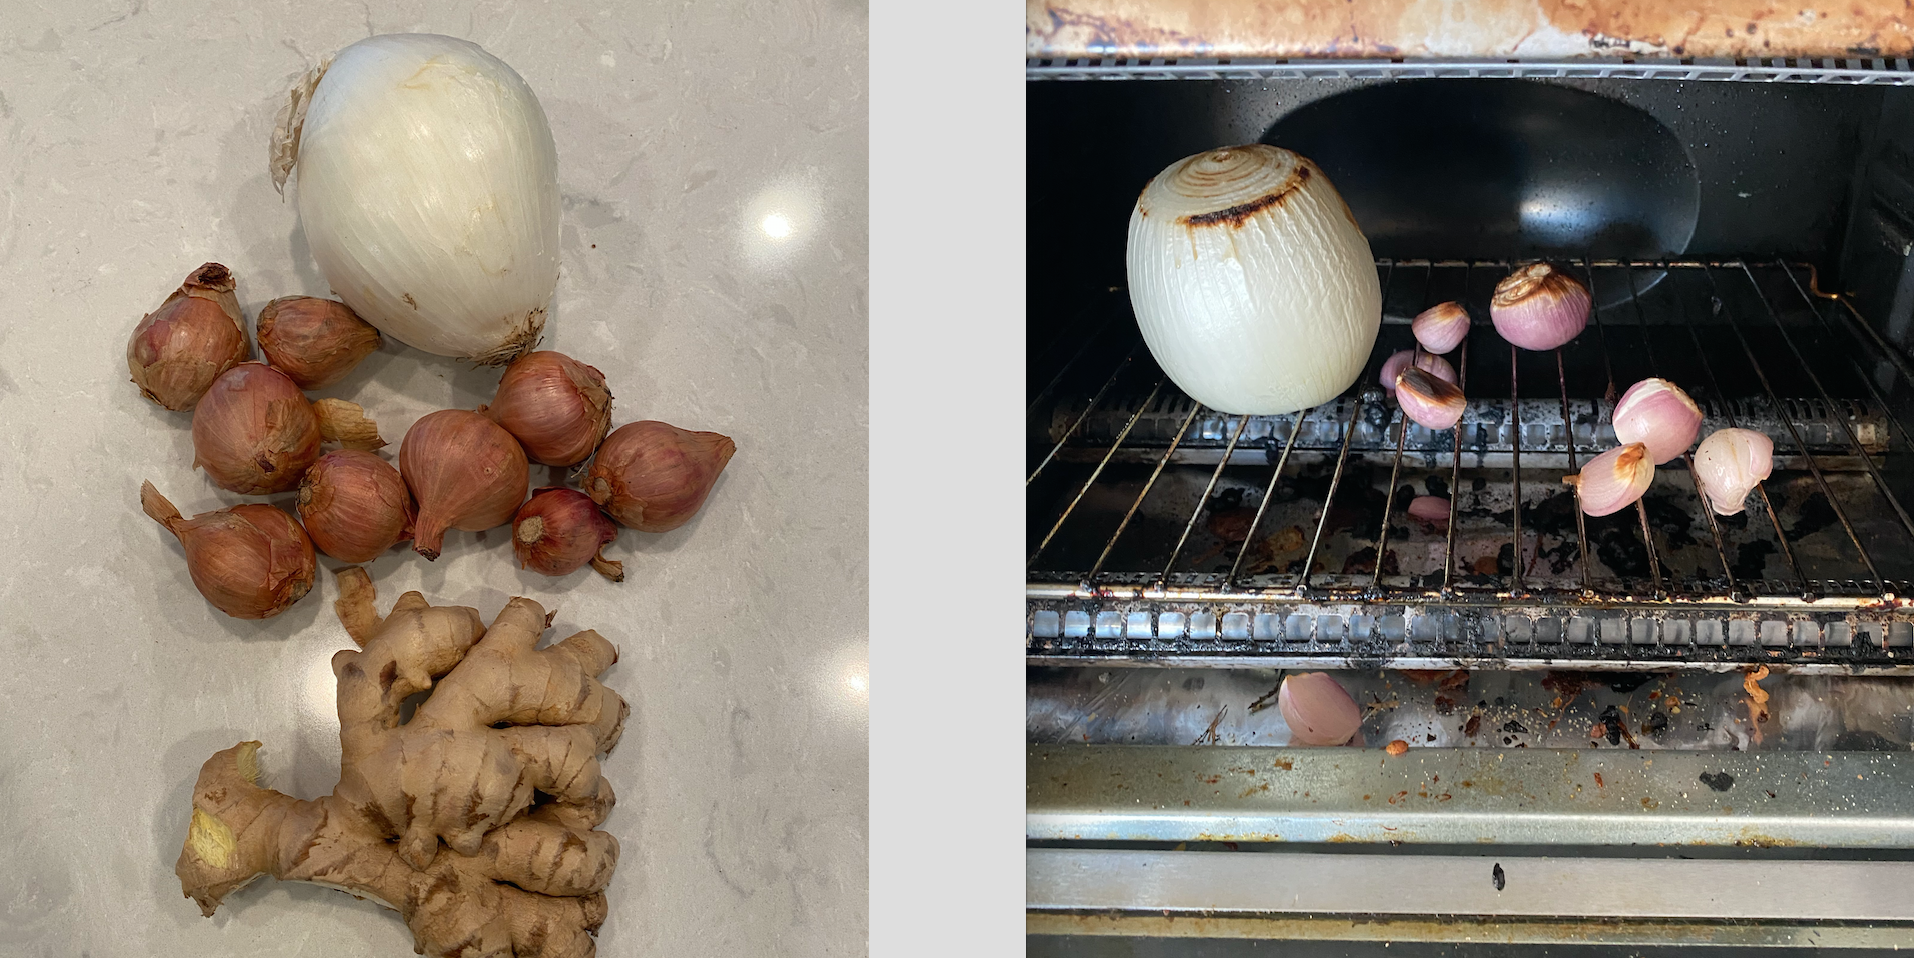
Let those bad boys roast for about 10-15 minutes or until you see browning on the onion. While that’s going on, I take my 2-ish lbs of beef bones and throw them into the 16 QT Pot and fill it about 90% of the way up with water. Set it on your stove over a medium high heat.
Step 2
The Vietnamese store sells beef bones, but I would recommend that this is not something you go cheap on. These were purchased at Whole Foods (make no mistake, this is one of the very few things we buy there).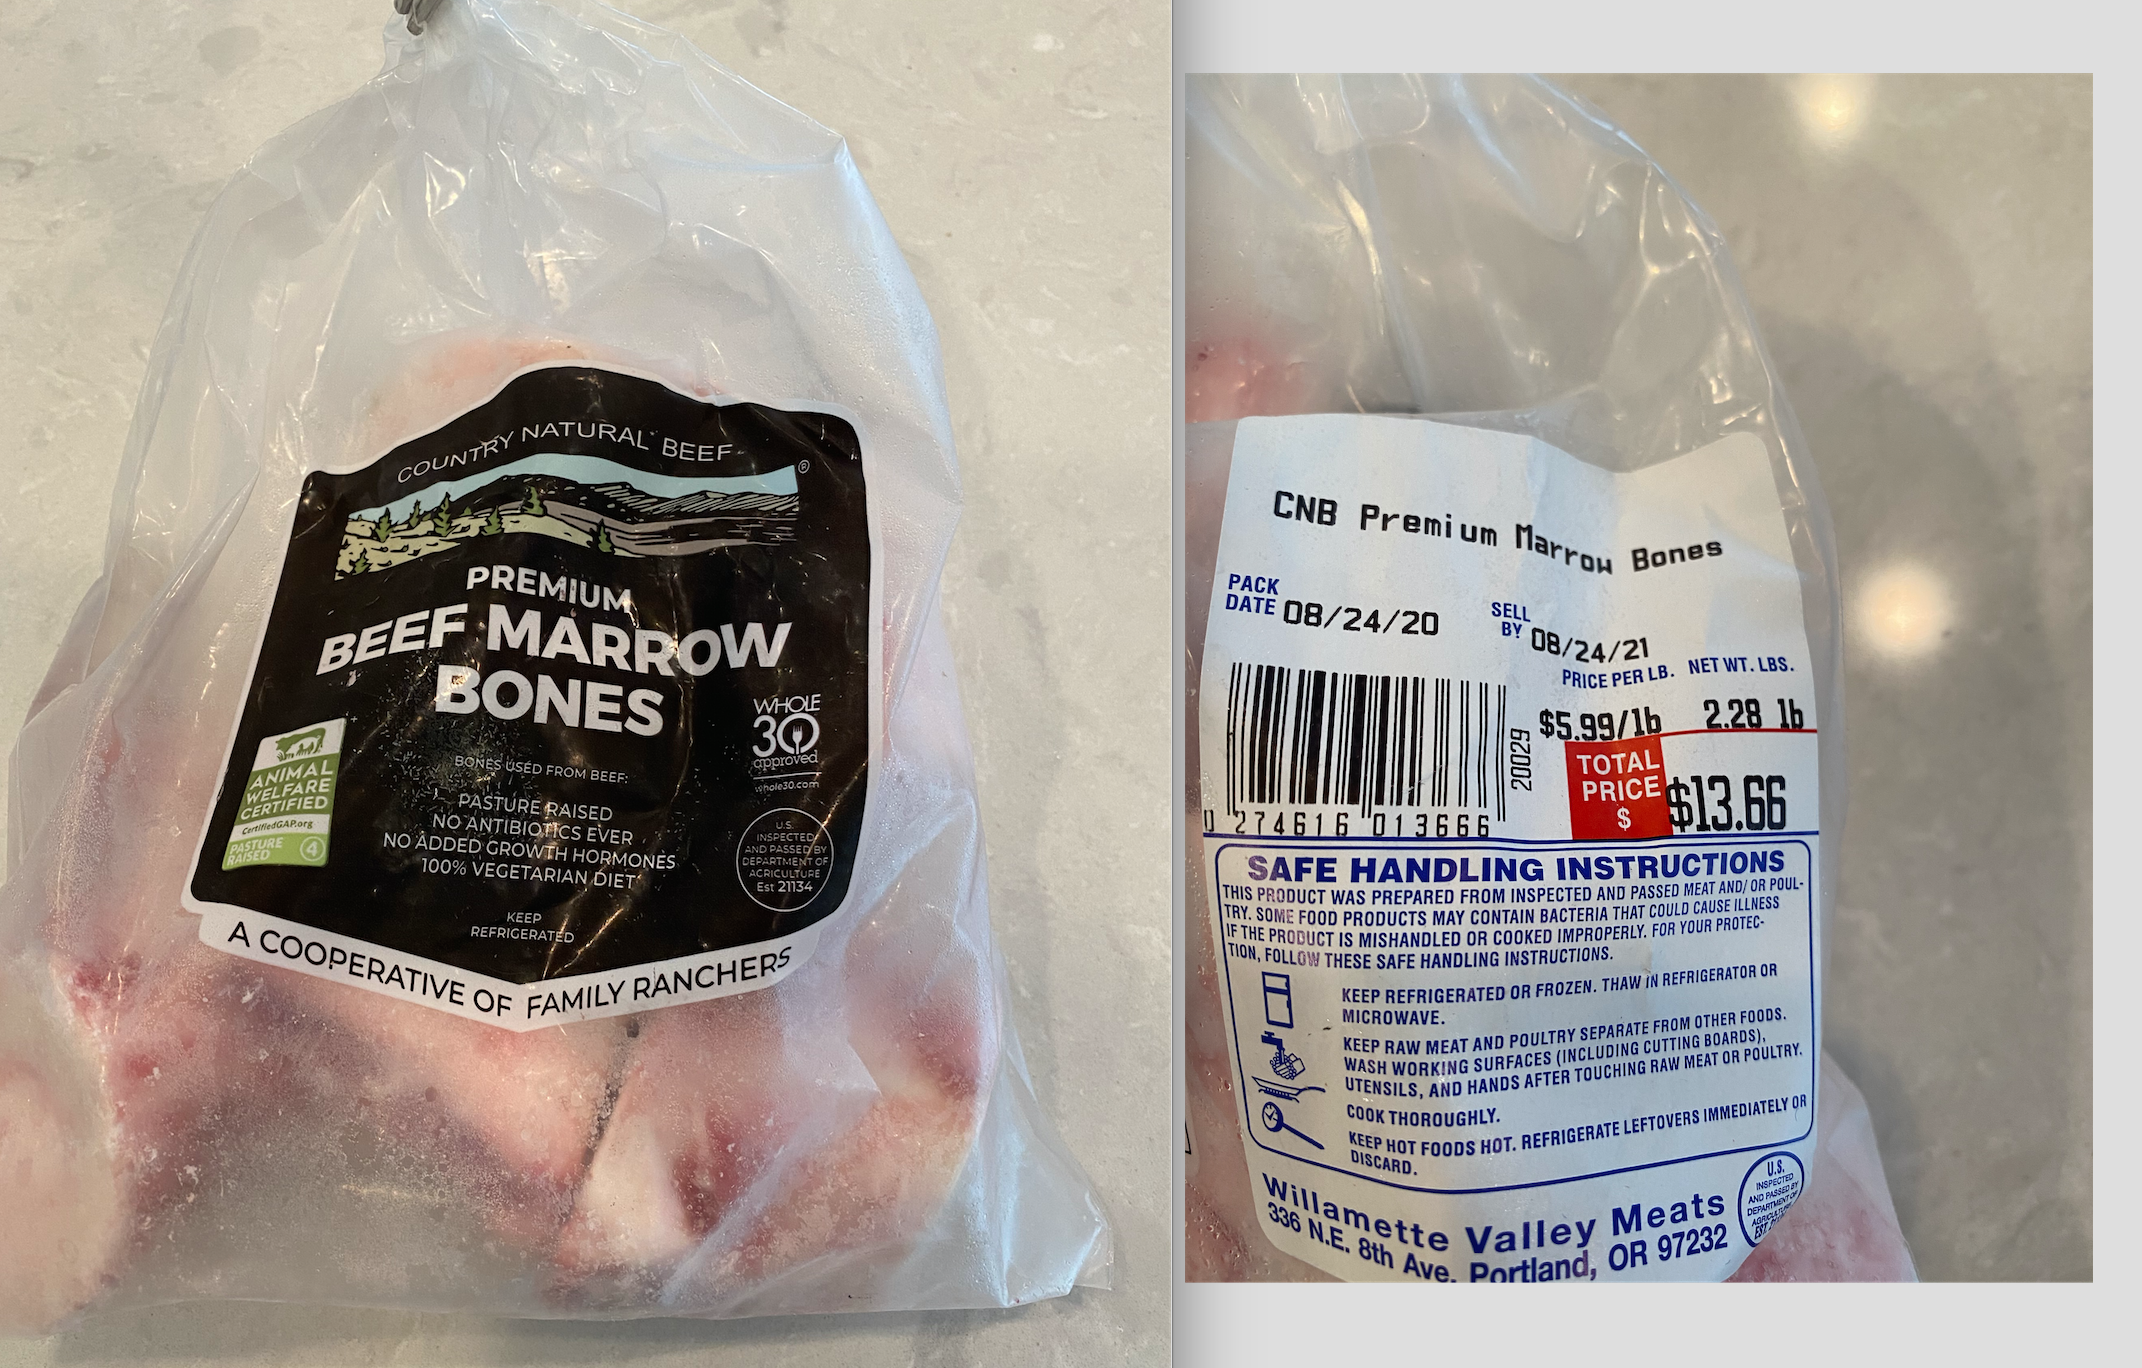
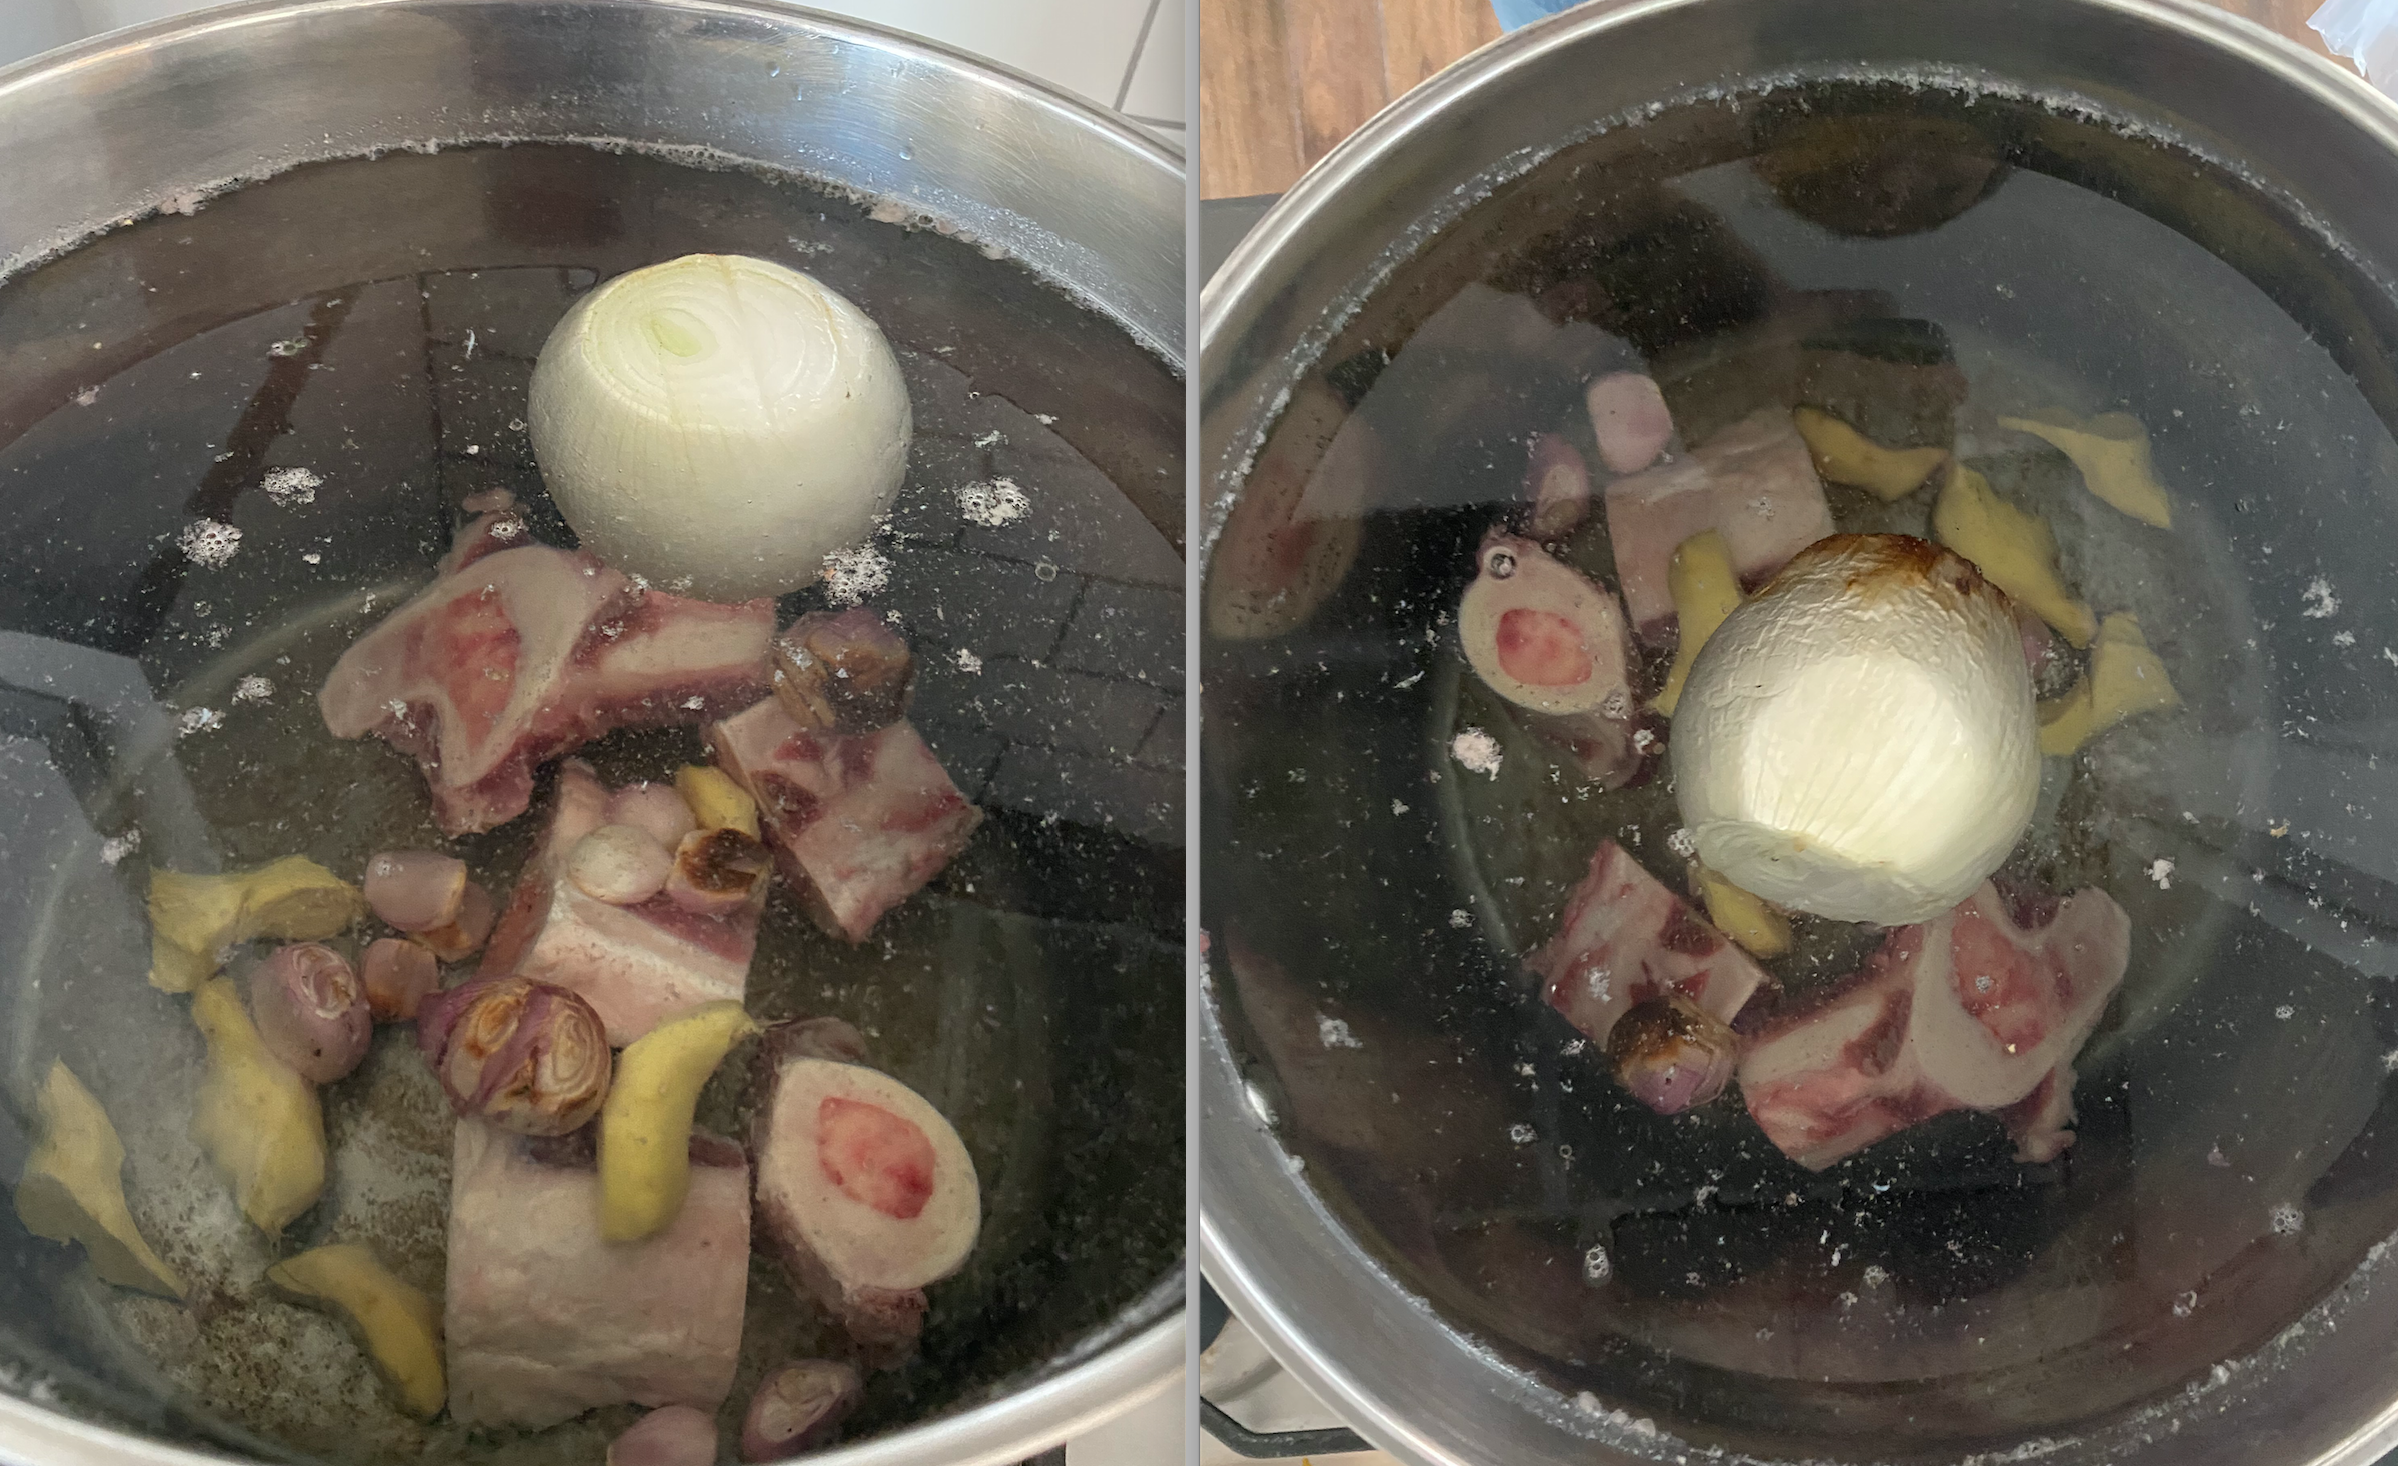
Once the veggies are done roasting in the oven, use tongs to carefully take them out of the oven and put them directly in the pot. Just like so.
Step 3
With the stove still on medium high, throw in the remaining ingredients for the broth EXCEPT for the fish sauce. This includes the tiny cinnamon stick, two bags from the “pho Hoa” package (red box), all 4 cubes from the Vien gia vi Pho box (yellow box), and the 8-10 pieces of star anise. It’s important at this point to not add the fish sauce yet.
Step 4
Now you add in the 4 lb piece of beef chuck roast or bottom round roast. Technically, just about any piece of roast should work and you could even do a more expensive piece of meat such as flank steak, however, since it’s cooked until tender that isn’t necessary. I’ve often used chuck roast, but this is what we happen to have on hand.
(Tip: We buy a quarter of a cow every year and stick it in our deep freeze. Highly recommend doing so because it comes out to be about $3/lb when all is said and done.)
At this point, you’ll need to do reduce the heat from medium high to medium.
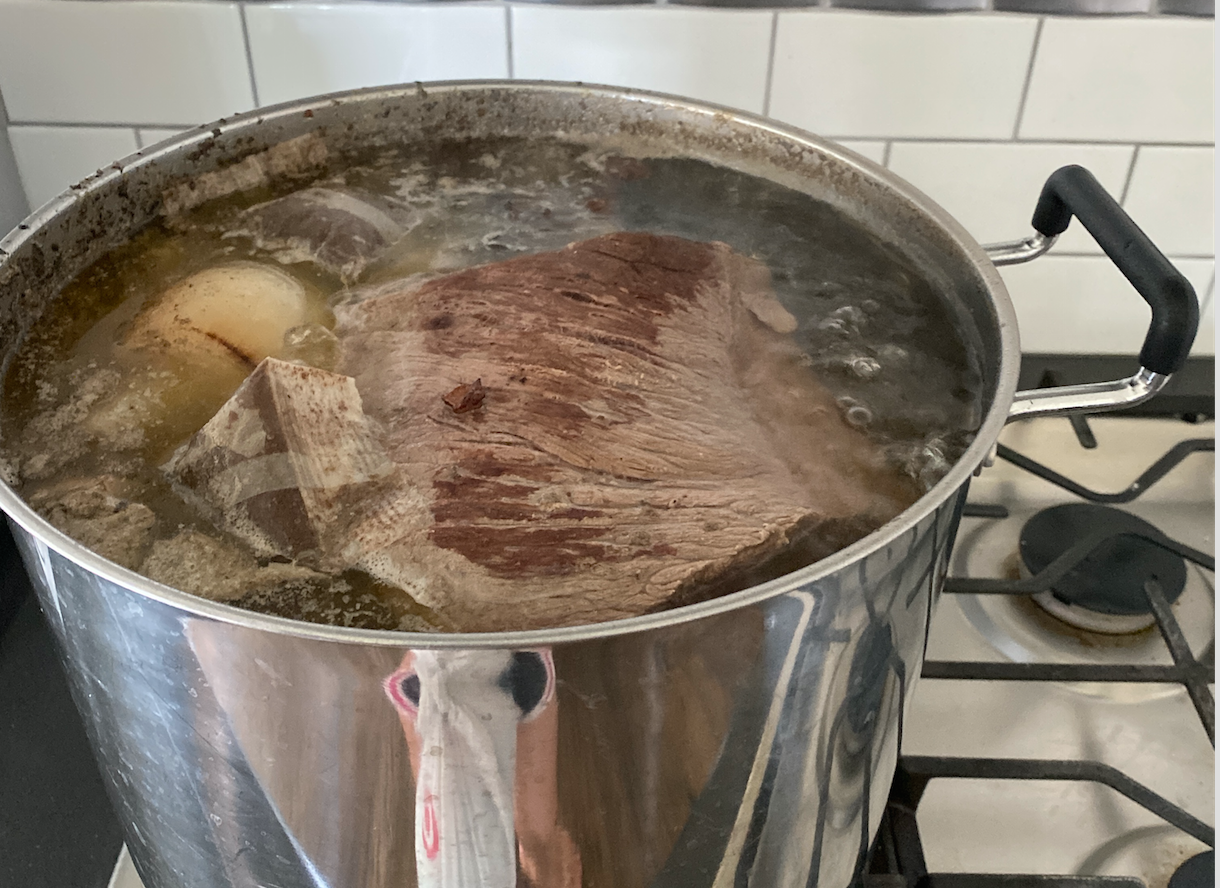
Step 5
You’ll want to cook the roast in there for about 2.5-4 hours or however long it takes it to get tender, but not fall apart when you pull it out. You could always pull it out to see if it holds together but is still tender when you slice it. No harm in having to put it back in the broth if needed.
Usually during this step I’m using the time to prepare my garnishes. For me this means chopping the cilantro and green onions and slicing up some limes.
Step 6
Once you’ve established that the meat is indeed done to the right tenderness, then pull it out entirely to cool before slicing. You’ll now want to remove EVERYTHING from the pot leaving just th broth. The easiest way might be using tongs for the big pieces and a large mesh strainer for everything else. I usually put these items in a big mixing bowl and let them cool before tossing.
If you’re a bone marrow eating type, definitely try the marrow on the bones when you pull them out. They’ll be delicious.
When the meat has cooled, slice it as thinly as you can going against the grain. Eliminate and trim fat along the way.
Step 7
With everything cleared out, now is when you add in the fish sauce. The reason to wait until the very end is because some component in the sauce causes that rainbow coloration to the meat. There’s probably a scientific way to explain this, but I’m no scientist so you’ll just have to trust.
The 24 oz bottle should be more than enough to flavor the rest of the broth. I usually end up shaking in half the bottle and taste it from thereon. In reality, I end up putting in anywhere from 2/3 to 3/4 of the bottle in the broth.
Keep in mind that you’ll almost want to make it a bit saltier than you would think because the broth is what flavors the noodles and the meat (the meat will be flavorful, but unsalted).
Step 8
You can serve it immediately at this point. To do so, I fill another large pot with water and throw in some noodles when it reaches a rolling boil. Since they’re fresh noodles (as opposed to dry) it should only take 2-3 minutes to get the right consistency. You definitley don’t want to overcook these as they’ll be mushy so watch closely.
After you strain it, rinse the noodles through with cold water to prevent sticking.
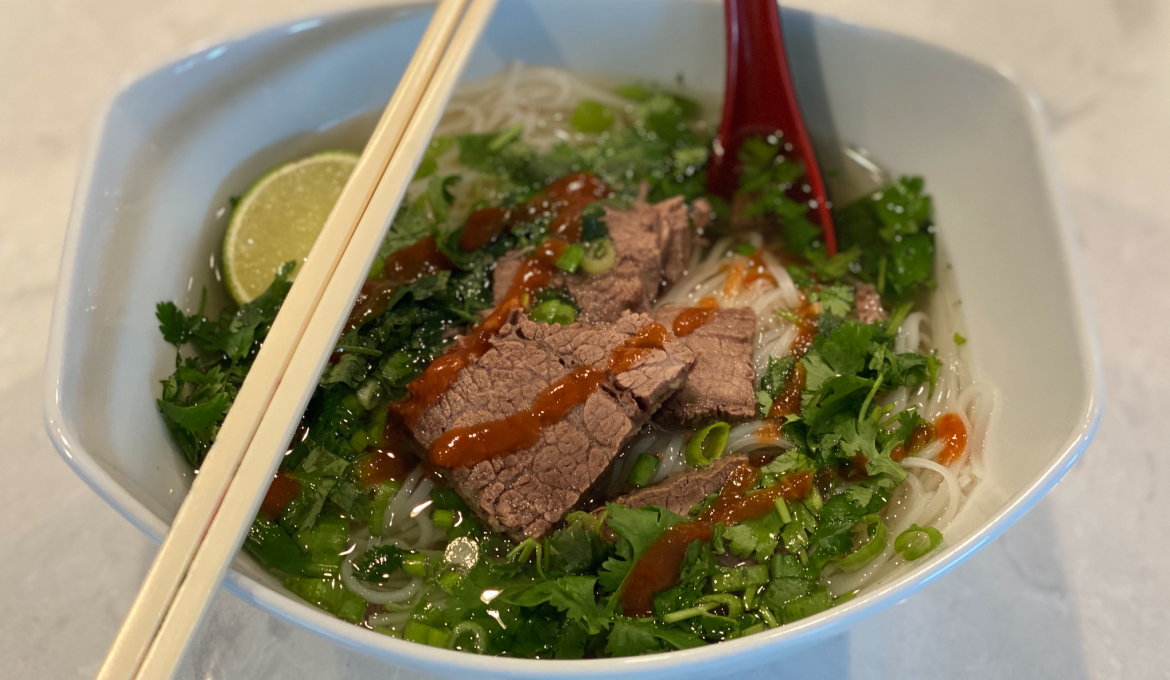
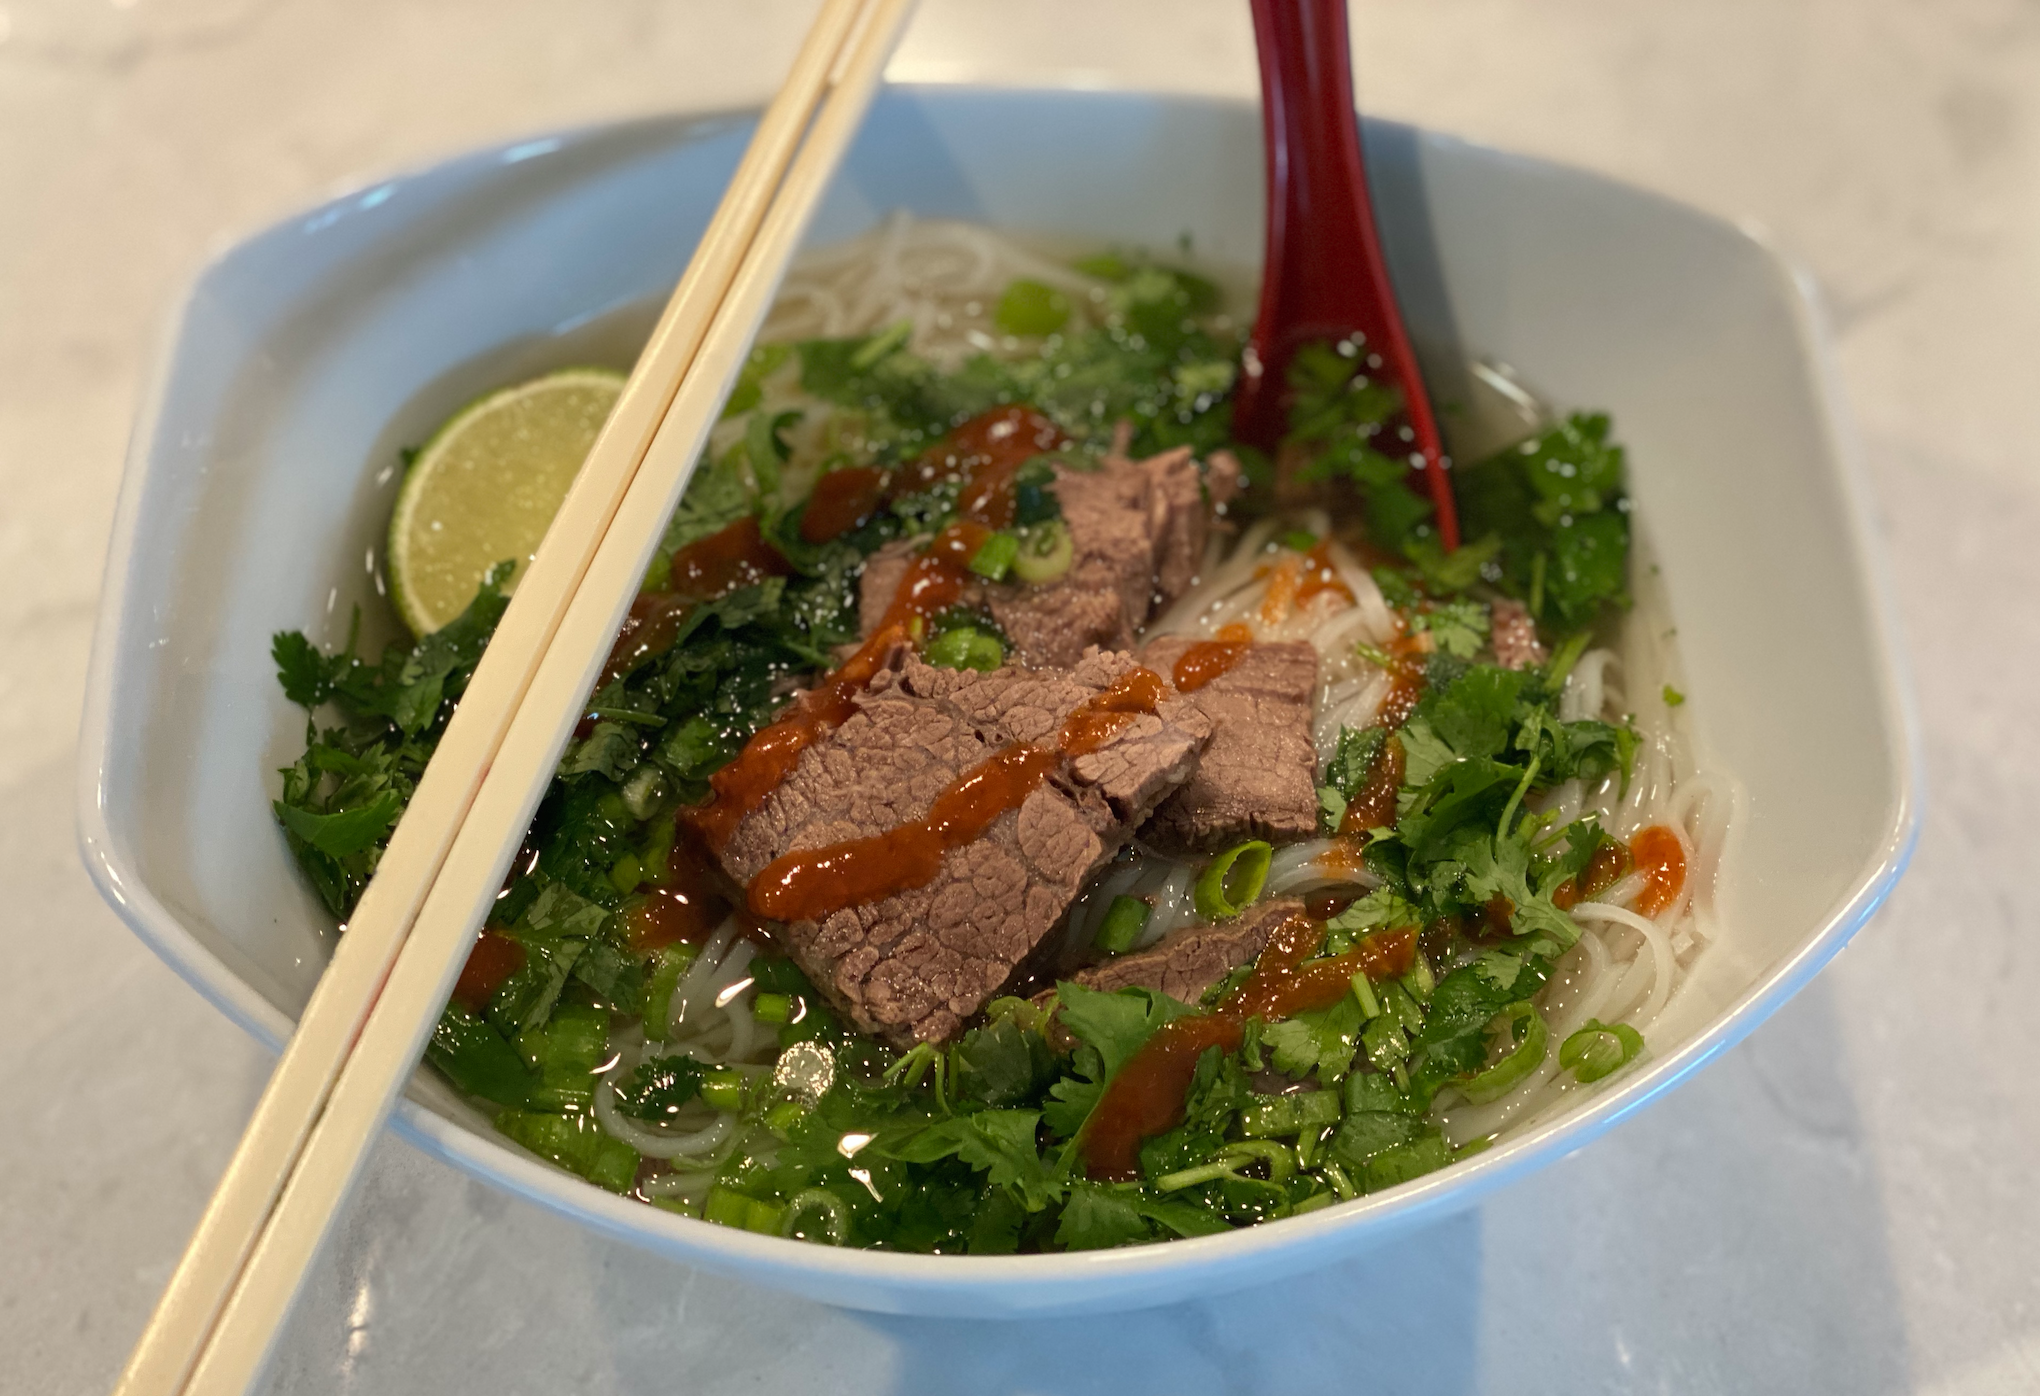
Since I like my Pho piping hot, I usually use a separate, smaller pot to assemble my bowl. This is the order I prepare it: Broth, Meat, Cilantro, Green Onions, and Noodles. When I pour it out, it flips itself upside down and presents beautifully.
I like mine with a wedge of lime and some srirachi, but some other options are bean sprouts, hoisin sauce, more fish sauc, etc.
One other tip: Sometimes we let it cool and refrigerate it overnigth so the thin layer of fat at the top (that inenvitably comes from the meat) is easily removed.
If you have any questions, hit me up by commenting below. Enjoy!


This is the first time I’ve ever made pho, and let me tell you, my friends were HIGHLY impressed. I had to buy some of the stuff off Amazon (like vien Gia box) but the rest of it I was able to find between my Asian markets and Kroger. Even adding more water about half way down into the pot didn’t hurt anything, just gave it a lighter color, so I’ve got pho for days!
Definitely be using this recipe again, do you have any recommendations for a pho that isn’t beef? I didn’t realize that one of my friends can’t eat beef. Also I wish I could post a picture of the masterpiece!
Well, that’s amazing and I’m glad it turned out! I’ve started to parboil the bones and beef in a separate pot of water to remove the impurities before adding it to the main one and that has worked out really well too!
Unfortunately, I’ve never been taught to make any other version of Pho besides beef but I’m sure there are some good ones out there. Thanks for sharing!